
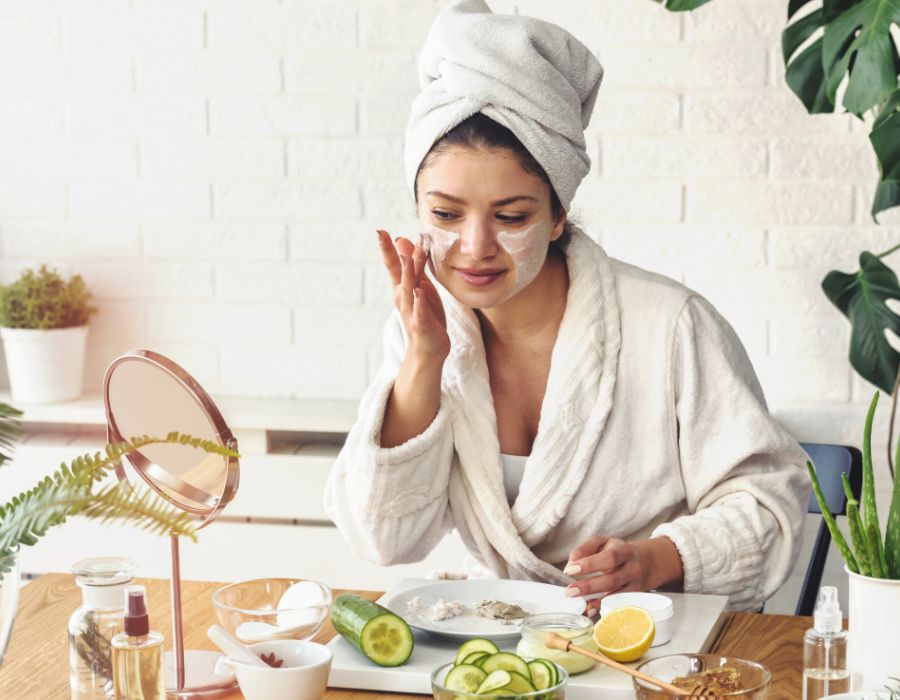
When I first struggled with stubborn breakouts, I couldn’t count the number of lotions and creams I tried. Nothing seemed to work—until I discovered the power of a homemade face mask for acne. In this guide, I’ll share my personal journey along with detailed, step-by‑step instructions and tips on creating a DIY face mask that not only calms acne breakouts but also nourishes and revitalizes your skin. Whether you’re searching for DIY face mask recipes for acne, a natural acne treatment mask, or even an organic face mask for acne, you’re in the right place.
My Personal Journey to Clear Skin
I remember the countless nights spent staring at my reflection, frustrated with my acne. I was tired of using products loaded with chemicals that only made my skin feel irritated and sensitive. That’s when I decided to explore DIY skincare. After reading trusted blogs like Healthline and My Beauty Bunny, I discovered that natural remedies could be gentle yet incredibly effective.
Through trial and error in my very own kitchen, mixing natural ingredients like clay, tea tree oil, and turmeric, I eventually found a formula that cleared my skin. Not only did this homemade acne remedy work wonders on my breakouts, but it also left my skin feeling soft and refreshed. Now, I’m excited to share every detail of my journey and the recipe that transformed my skincare routine.
Essential Ingredients for Your DIY Acne Mask
Creating a successful homemade face mask for acne starts with choosing the right ingredients. Here, I explain my favorites and why they work so well:
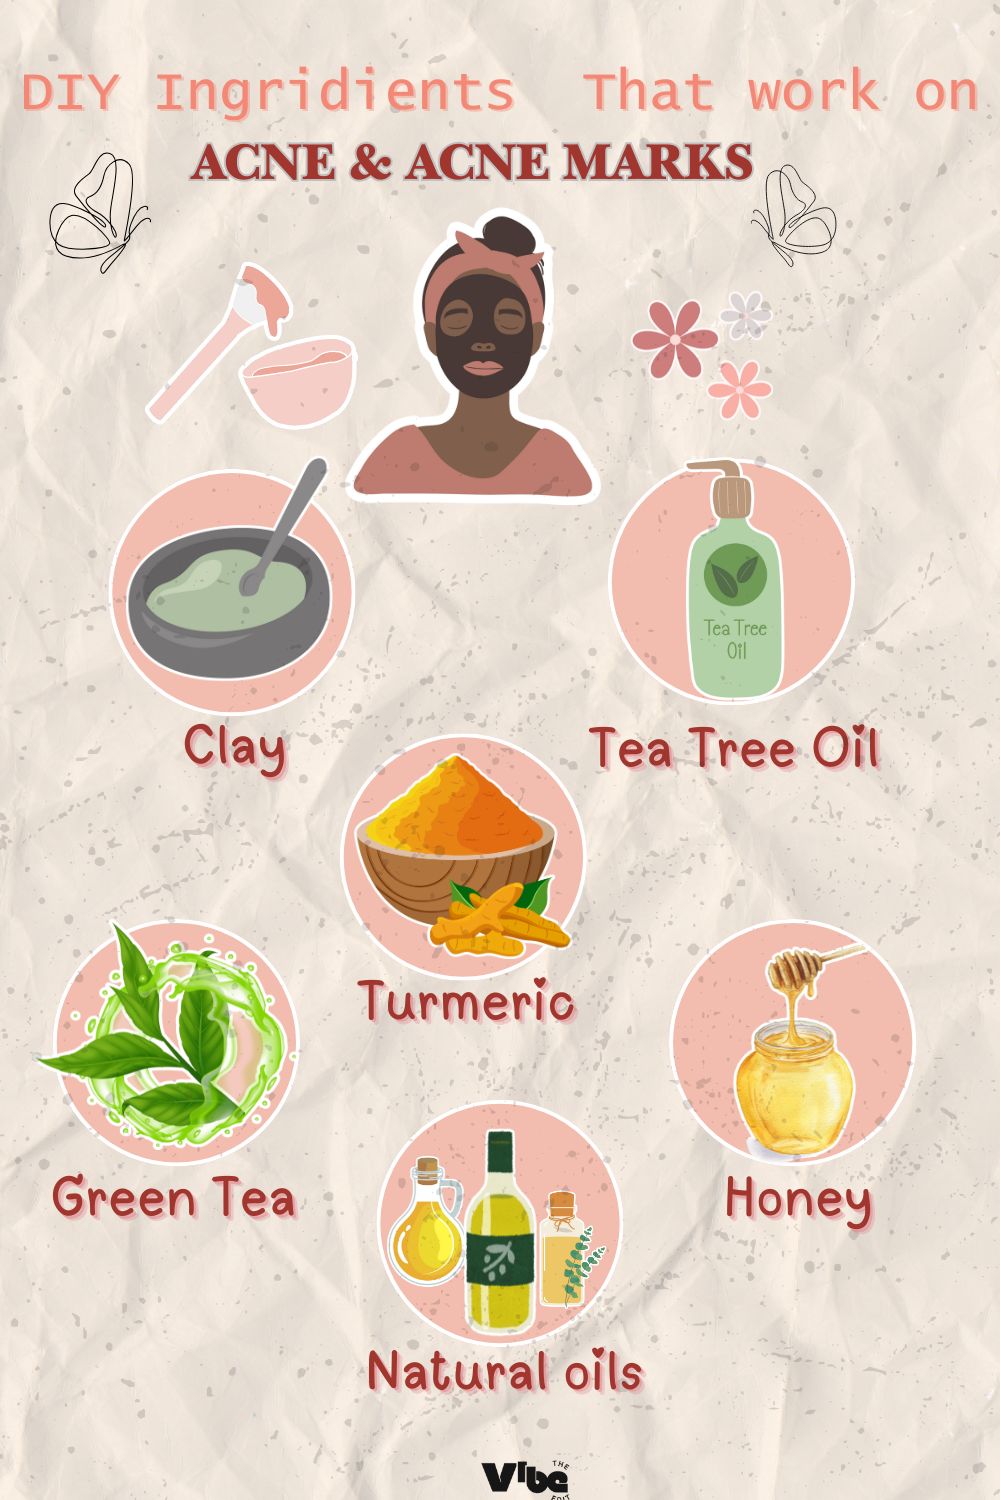
Clay (Green or Bentonite)
- Benefits: Clay naturally detoxifies by absorbing excess oils and impurities.
- How It Works: It unclogs pores and is especially beneficial as a clay mask for oily skin.
- My Experience: I alternate between green clay for reducing inflammation and bentonite clay for its deep-cleaning power.
Tea Tree Oil
- Benefits: Tea tree oil has powerful antibacterial and antiseptic properties.
- How It Works: It targets acne-causing bacteria, helping to reduce breakouts.
- My Experience: I add just a few drops so my skin gets its benefits without any irritation.
Turmeric
- Benefits: Known for its anti-inflammatory properties, turmeric helps soothe redness and acne scars.
- How It Works: It brightens the skin and reduces inflammation but must be used sparingly because it can stain.
- My Experience: A small pinch goes a long way—if you’re careful, it will leave your skin radiant rather than stained.
Natural Oils (Coconut Oil, Vitamin E, Essential Oils)
- Benefits: Natural oils deeply moisturize and nourish the skin.
- How It Works: They lock in moisture and provide healing nutrients without clogging pores.
- My Experience: I often use coconut oil for hydration, and a teaspoon of Vitamin E oil adds an extra layer of skin repair.
Additional Ingredients (Green Tea, Honey)
- Benefits: Both green tea and honey are loaded with antioxidants.
- How It Works: They help calm inflammation and reduce the effects of acne through their antioxidant properties.
- My Experience: Steeping a green tea bag and mixing in a spoonful of manuka honey has often given my skin that extra boost when I’m experiencing flare-ups.
Step-by-Step Recipe for a Homemade Face Mask for Acne
Here is the recipe that has become a staple in my skincare regimen. Follow these steps to create your very own organic face mask for acne.
Ingredients List
- 1 tablespoon green clay (or bentonite clay)
- 1/4 cup water
- 2 drops tea tree oil
- 1/2 teaspoon turmeric
- 1 teaspoon manuka honey (optional, skip if vegan)
- 1 teaspoon coconut oil (melted)
- 1 drop Vitamin E oil
- Optional: A splash of cooled green tea
Directions
- Mix the Clay:
- Place 1 tablespoon of green clay in a clean bowl.
- Add Water:
- Slowly add 1/4 cup of water while stirring continuously until you achieve a smooth, lump‑free paste.
- Incorporate Tea Tree Oil & Vitamin E Oil:
- Add 2 drops of tea tree oil and 1 drop of Vitamin E oil. Stir well to ensure uniform mixing.
- Stir in Turmeric:
- Sprinkle in 1/2 teaspoon of turmeric.
- Note: Turmeric is highly potent and may stain fabrics or your skin if left on too long.
- Add Honey & Coconut Oil:
- Mix in 1 teaspoon of manuka honey and 1 teaspoon of melted coconut oil until fully blended.
- Optional Booster:
- For an extra antioxidant boost, mix in a splash of cooled green tea.
- Apply the Mask:
- Gently apply the mask evenly to your freshly cleansed face, avoiding the eye and lip areas.
- Leave On:
- Allow the mask to sit for about 15 minutes. On days when you have more time, I sometimes keep it on for up to 20 minutes.
- Rinse Thoroughly:
- Rinse your face with lukewarm water until all the mask is removed. Pat your skin dry and follow up with a light moisturizer.
Benefits & Health Considerations
Using a homemade face mask for acne not only tackles acne but also provides other numerous benefits. However, it’s important to use these remedies correctly.
Benefits of a Natural Acne Mask
- Acne Reduction:
- By unclogging pores and fighting acne‑causing bacteria, the mask helps reduce breakouts over time.
- Antioxidant Boost:
- Ingredients like green tea and manuka honey provide essential antioxidants that protect the skin.
- Cost‑Effective:
- Making your own mask is economical compared to expensive commercial products.
- Customizable:
- You can modify the recipe based on your skin’s needs, whether it’s more oil or dryness.
- Pure & Natural:
- You know exactly what’s in your mask—free from unwanted chemicals and additives.
Health Considerations & Precautions
- Always Patch Test:
- Before using the mask on your face, apply a small amount on a discreet area (like your wrist) and wait 24 hours.
- Quality Ingredients Matter:
- I’ve learned that investing in high‑quality, organic ingredients makes all the difference.
- Frequency:
- Use the mask no more than 1–2 times a week to avoid over-drying your skin.
- Watch Out for Staining:
- Turmeric can stain clothes and skin if not properly rinsed. Use an old t-shirt if you’re nervous about staining.
- Clean Application:
- Always apply the mask on freshly cleansed skin and follow up with a gentle moisturizer to lock in the benefits.
Frequently Asked Questions (FAQs)
FAQ 1: How do I make a homemade face mask for acne?
- Answer: Combine ingredients such as clay, tea tree oil, turmeric, honey, and coconut oil (as detailed above) to form a smooth paste. Apply to your face, leave on for 15–20 minutes, and then rinse thoroughly.
FAQ 2: What natural ingredients work best for treating acne?
- Answer: Key ingredients include green clay, tea tree oil, turmeric, coconut oil, and manuka honey. These ingredients help unclog pores, reduce inflammation, and fight acne-causing bacteria.
FAQ 3: How often should I use a DIY acne mask?
- Answer: I recommend using the mask once or twice a week. Overuse may lead to dryness or irritation.
FAQ 4: Are homemade face masks suitable for all skin types?
- Answer: Yes, they can be adjusted to suit your skin type. For example, if you have dry skin, reduce the clay and increase the amount of hydrating oils.
FAQ 5: What precautions should I take when using a homemade mask?
- Answer: Always do a patch test, avoid the sensitive eye area, and make sure to rinse thoroughly to prevent any residue or staining—especially when using turmeric.
Enhancing Your Daily Skincare Routine with Natural Masks
Since I started using a homemade face mask for acne regularly, my skincare routine has evolved into a series of mindful practices that support both my skin and overall well-being. Here are some insights from my personal routine:
Morning Rituals
- Gentle Cleansing:
- I begin each day with a gentle cleanser to remove overnight oil and impurities.
- Toning:
- Applying a natural toner (like one made with witch hazel or rose water) helps balance my skin’s pH.
- Light Moisturizing:
- A lightweight, organic moisturizer finishes my morning routine, keeping my skin hydrated without feeling greasy.
Nighttime Routine
- Double Cleansing:
- In the evening, I remove makeup and sunscreen with an oil-based cleanser, then cleanse again with a gentle foam cleanser.
- Face Mask Days:
- On the nights I use my DIY mask, I skip heavy moisturizers before application to allow the mask to work its magic.
- Post-Mask Hydration:
- After rinsing off the mask, I apply a hydrating serum to help my skin lock in moisture and recover overnight.
Managing Acne Breakouts
- Spot Treatments:
- For sudden breakouts, I use a concentrated dab of diluted tea tree oil as a spot treatment.
- Maintaining Consistency:
- One of the most important lessons I’ve learned is that consistency is key. Even when progress seems slow, sticking to your routine makes a difference.
- Healthy Lifestyle:
- Alongside topical care, I also focus on a balanced diet, hydration, and sufficient sleep, which all contribute to healthier skin.
Integrating Natural Remedies with Modern Skincare
I’ve found that combining natural remedies with modern skincare techniques creates a powerful routine that works wonders. Here’s how I blend both worlds:
Complementary Skincare Products
- Serums & Moisturizers:
- I complement my DIY mask with serums rich in vitamins C and E, enhancing the antioxidants already provided by the mask.
- Sunscreen:
- Every morning, I apply a broad-spectrum sunscreen to protect my skin from UV damage.
- Exfoliation:
- I gently exfoliate once a week with a natural scrub to help remove dead skin cells, ensuring that fresh ingredients penetrate deeply.
Personal Experience & Adjustments
- Track Your Progress:
- I keep a personal journal and take weekly photos to monitor how my skin improves. This helps me adjust the mask’s ingredients over time.
- Customize the Recipe:
- Not all ingredients work for everyone. If I notice any irritation or dryness, I tweak the proportions—sometimes a bit more oil, sometimes a little less clay.
- Stay Updated:
- I regularly read up on new natural skincare tips and ingredient benefits, which keeps my routine both fresh and effective.
Final Thoughts & Daily Skincare Motivation
Embracing a homemade face mask for acne has transformed my approach to skincare. It’s not just about fighting acne—it’s about creating a daily ritual that nurtures your skin and boosts your confidence. Here are a few parting thoughts from my journey:
- Consistency is Key:
- Natural remedies work gradually. Stick with your routine and give your skin time to adjust.
- Listen to Your Skin:
- Every face is unique. Adjust your mask’s ingredients based on what your skin needs on any given day.
- Enjoy the Process:
- I’ve come to see my DIY skincare sessions as a form of self-care—a moment to relax, experiment, and appreciate my body.
Taking control of your skincare through natural, homemade remedies empowers you to avoid harsh chemicals and embrace a holistic path to clear, healthy skin. I hope my personal experiences and detailed guide inspire you to try this recipe and see the transformation for yourself.


4 Responses