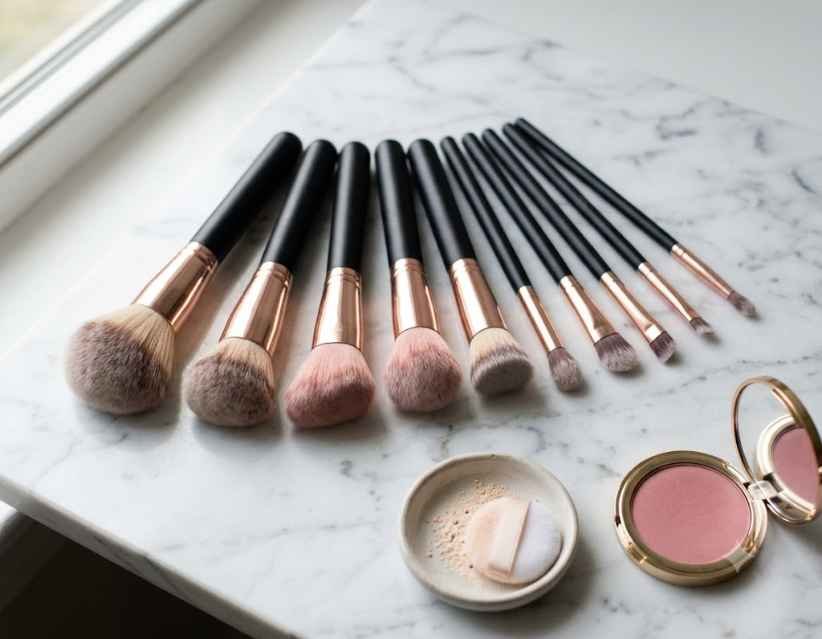
The first time I stood in front of a brush display at the store, I genuinely froze. There were fluffy ones, flat ones, tiny ones, and a few that looked like they belonged in an art class instead of a makeup bag. I ended up buying three brushes that day, and I used exactly one of them correctly. Everyone who wears makeup regularly has a version of this story, which is exactly why understanding makeup brushes and their uses matters so much before you spend money on a full set.
This guide breaks down every major brush type in plain language. No jargon, no long lists you have to decode on your own. Just a clear explanation of what each brush does, what product it works best with, and how to use it without wasting product or time.
Whether you’re building a full collection or simply trying to figure out which brush goes with which product, this breakdown will save you the trial and error I went through. By the end, picking the right brush will feel obvious instead of overwhelming.
Understanding Makeup Brushes and Their Uses
Every brush is built for a reason. The shape, the bristle length, and the density all decide what the brush can and cannot do well. A brush that works beautifully with powder will usually struggle with liquid foundation, and a brush made for precise lip color will do a poor job blending eyeshadow.
Once you understand this logic, choosing between different makeup brushes and their uses stops feeling random. You start picking brushes based on the product you own and the finish you want, rather than guessing based on packaging or price.
Beauty brands generally group brushes into three areas: face, eyes, and lips or brows. That grouping is the easiest way to learn them, so we will follow the same order below.
It also helps to think about formula before shape. Liquid and cream products need firmer, denser bristles that push product into the skin. Powder products need softer, airier bristles that pick up a light layer of color and deposit it gradually. Keeping that one rule in mind makes almost every brush decision easier, even before you learn each name.
Face Makeup Brushes and Their Uses
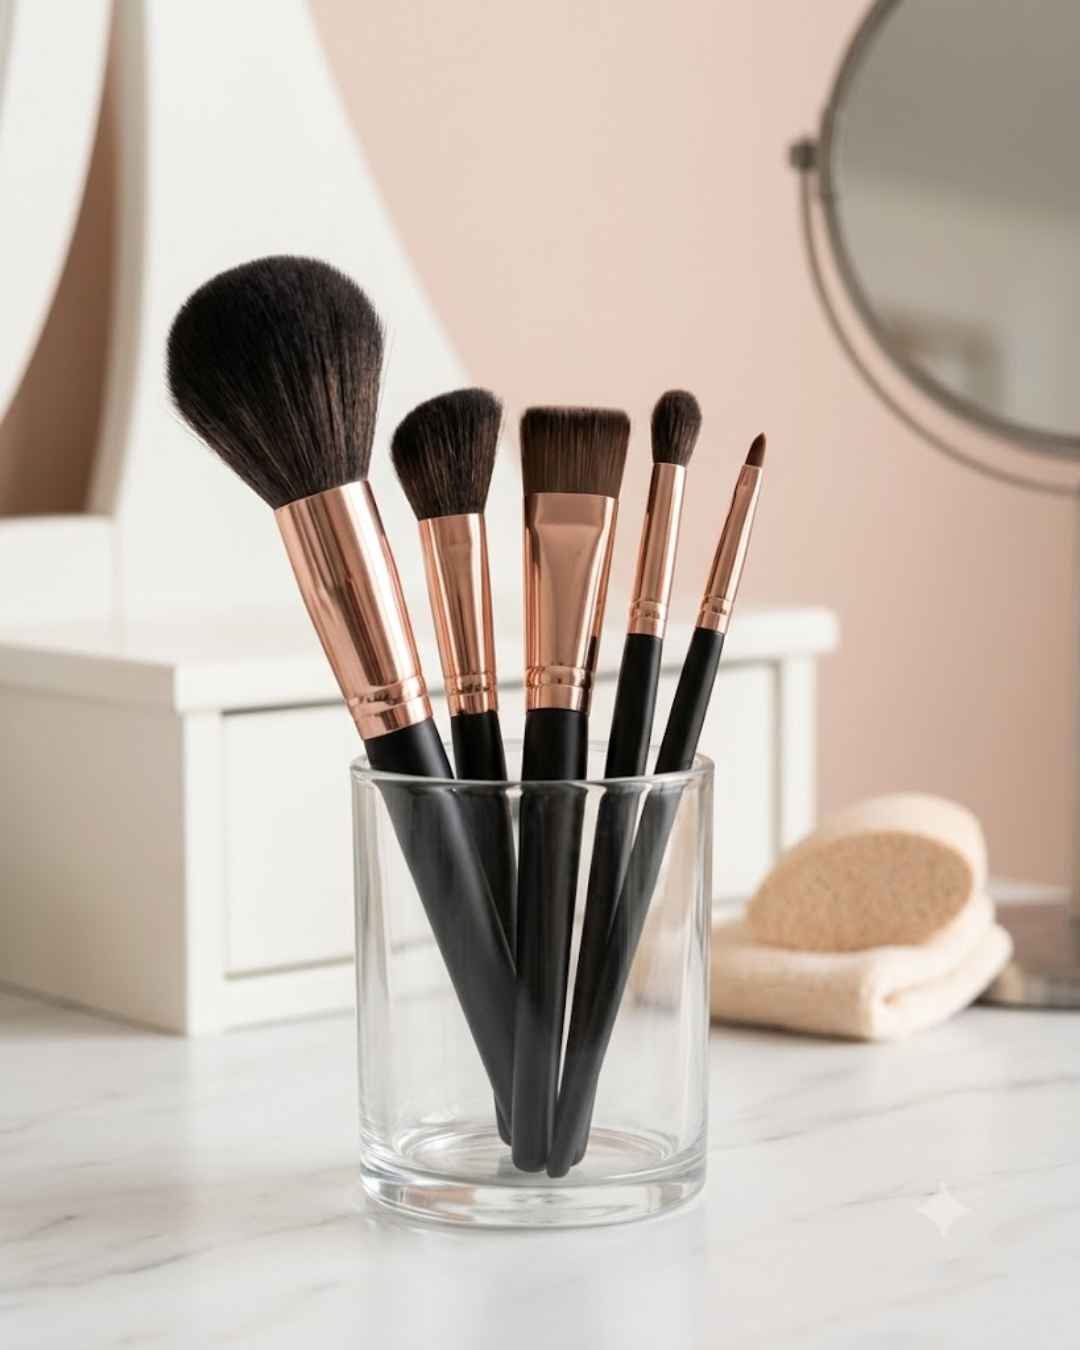
Face brushes handle the biggest surface area, so they tend to be larger and denser than the rest of your collection.
Foundation Brush
A foundation brush usually has a flat or slightly rounded head with dense, closely packed bristles. It is built to pick up liquid or cream foundation and buff it into the skin without soaking it up. Start with a small amount of product, apply it in gentle circular motions, and build coverage slowly instead of piling it all on at once.
Concealer Brush
A concealer brush is smaller and more tapered than a foundation brush. It is meant for precise areas like under the eyes, around the nose, or over a blemish. Tap the product gently rather than dragging it, since dragging can pull on delicate under-eye skin.
Powder Brush
A powder brush is large, soft, and fluffy, and it is used to set your base makeup with loose or pressed powder. Tap off any excess before applying, then dust it lightly across the face. Too much pressure defeats the purpose and can look cakey.
Blush Brush
A blush brush is rounded and slightly smaller than a powder brush. It applies color to the cheeks and blends it so there are no harsh lines. Smile gently while applying so you can see exactly where the color naturally sits.
Contour Brush
A contour brush is often angled, which makes it easier to follow the natural curve of the cheekbone or jaw. It works with both cream and powder contour products and is meant to sculpt rather than color the face.
Highlighter Brush
A highlighter brush is usually small and dense, built to place shimmer precisely on the high points of the face such as the cheekbones, brow bone, and bridge of the nose. A light touch goes a long way here.
Kabuki Brush
A kabuki brush is short, dense, and rounded, designed to be used with a stippling or buffing motion rather than long strokes. It works well for both pressed powder and mineral foundation, and it’s a good travel-friendly option since it packs down easily.
Stippling Brush
A stippling brush has two layers of bristles, a shorter dense layer underneath and a longer airy layer on top. That combination creates a soft, airbrushed finish with liquid or cream products, which makes it a favorite for anyone who wants coverage without looking heavy.
Eye Makeup Brushes and Their Uses
Eye brushes are smaller and more specialized because the eye area needs more precision and softer blending.
Flat Eyeshadow Brush
A flat eyeshadow brush packs color onto the lid. Its firm, flat shape helps deposit pigment evenly, which is especially useful with darker or shimmer shades.
Blending Brush
A blending brush is fluffy and slightly rounded, and its entire job is to soften harsh lines between shades. Use it in gentle windshield-wiper motions along the crease.
Crease Brush
A crease brush is smaller than a blending brush but still soft enough to deposit and diffuse color in the crease, giving the eye more depth and dimension.
Angled Eyeliner Brush
An angled eyeliner brush is thin and stiff, designed for gel or cream liner. The angle allows for a cleaner line along the lash line or a defined wing.
Spoolie Brush
A spoolie looks like a small mascara wand and is used to brush through eyebrows or separate lashes after applying mascara. It is one of the most underrated tools in any kit.
Lip and Brow Brushes and Their Uses
These smaller tools may not get much attention, but they make a noticeable difference in precision.
Lip Brush
A lip brush allows for controlled, precise application of lipstick or gloss, especially with bold or deep shades where precision matters most.
Angled Brow Brush
An angled brow brush fills in eyebrows using powder or gel, following natural hair strokes for a look that stays soft instead of drawn on.
How to Choose the Right Makeup Brushes for Your Needs
Picking the right brush comes down to a few simple factors rather than trends or influencer recommendations.
Bristle Type: Synthetic vs Natural
Synthetic bristles work best with liquid and cream products since they do not absorb product the way natural hair does. Natural bristles tend to be better for powder products because they pick up and release pigment more softly.
Brush Density and Shape
Dense brushes build coverage and are ideal for foundation or contour. Fluffy, airy brushes are better suited for blending and softening, especially around the eyes.
- Dense and flat: best for liquid, cream, and precise placement
- Fluffy and rounded: best for powder, blending, and diffusing color
- Small and tapered: best for detail work like concealer or liner
Size matters too, though it gets less attention than shape. A brush that’s too large for your face will apply product in broad, imprecise strokes, while a brush that’s too small will take forever and can leave streaks. Hold a brush against your cheek before buying it if you can. It should cover the area comfortably without hanging far past it.
Price is not a reliable indicator of quality either. Many mid-range and drugstore brushes perform just as well as luxury ones, especially for beginners still learning technique. Focus on bristle feel and shape first, and worry about the brand name later.
How to Use Makeup Brushes the Right Way
Technique matters just as much as owning the right tools.
- Pick up a small amount of product first
- Tap off excess powder before applying
- Use light pressure and build up slowly
- Blend outward from the center of the face
- Clean brushes regularly to avoid product buildup
None of this requires expensive brushes. A mid-range set used correctly will always outperform an expensive set used carelessly.
Pay attention to the angle you hold the brush at as well. Holding it flat against the skin gives more coverage, while holding it at an angle gives more precision. Small adjustments like this make a bigger visual difference than switching to a pricier brush.
How Often Should You Clean Your Makeup Brushes
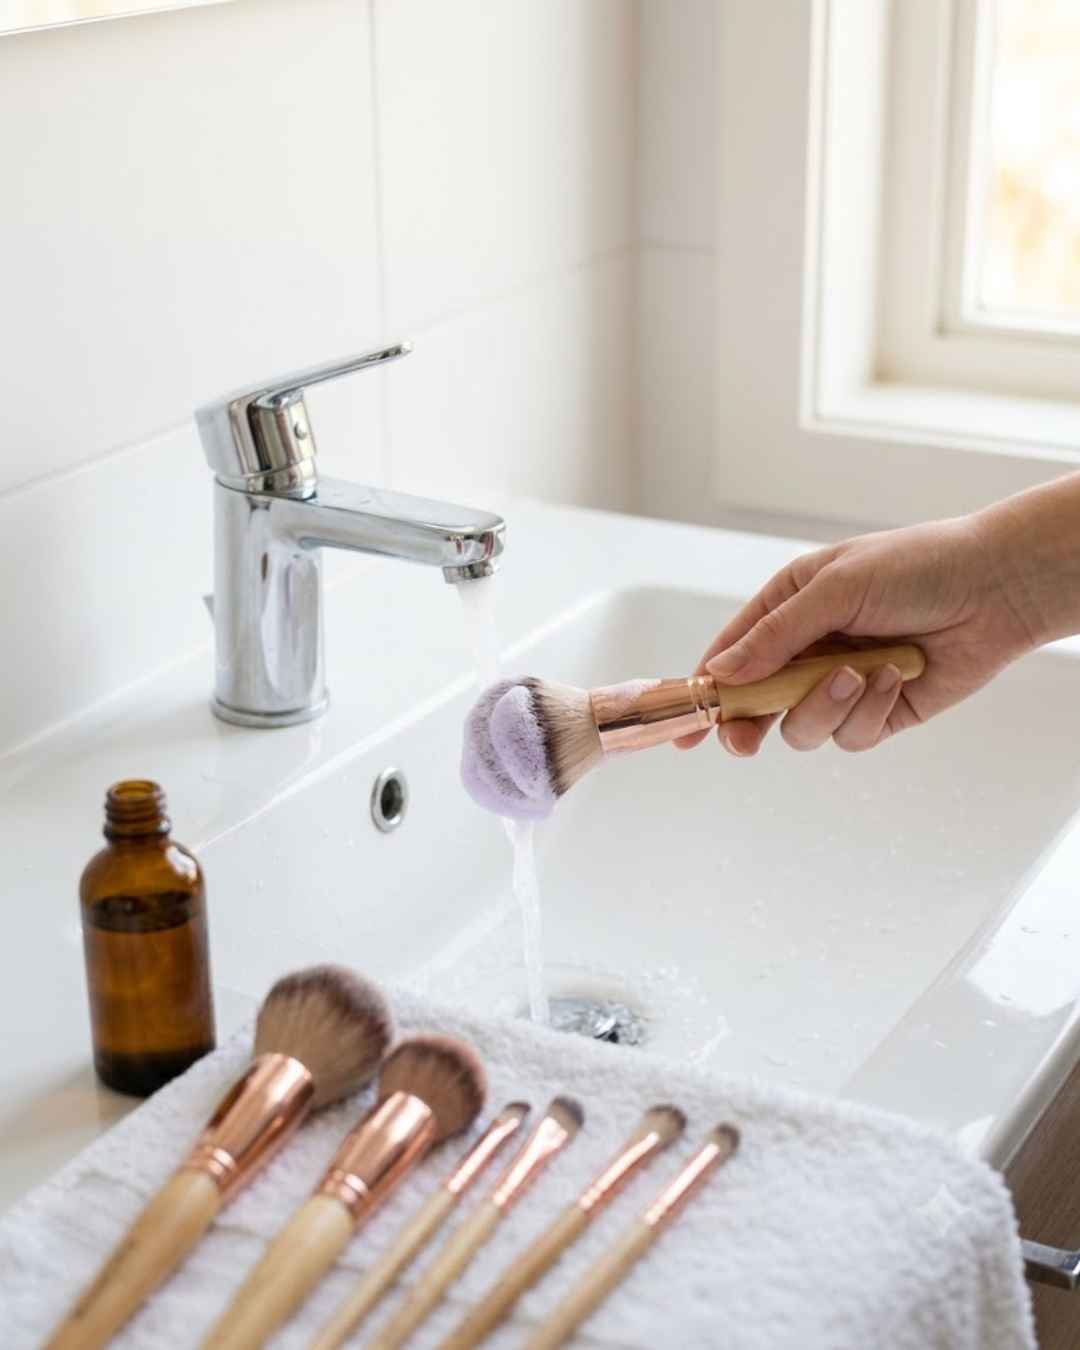
Brushes used with liquid or cream products, like foundation and concealer brushes, should be cleaned weekly since bacteria and product buildup collect faster in damp bristles. Powder brushes, including blush and eyeshadow brushes, can usually go two to three weeks between deep cleans since they stay drier.
A quick spot clean with a gentle brush cleanser between uses helps every brush last longer and perform better, no matter how often you wear makeup.
Lay brushes flat to dry after washing rather than standing them upright. Water can seep into the handle and loosen the glue holding the bristles in place, which shortens the brush’s lifespan over time. A clean towel on a countertop works perfectly fine for this.
Which Makeup Brushes Does a Beginner Actually Need
You do not need twenty brushes sitting on your vanity. A simple starter set covering the basics will handle almost any everyday look:
- Foundation or buffing brush
- Concealer brush
- Powder brush
- Blush brush
- Flat eyeshadow brush
- Blending brush
- Angled brush for brows or liner
Once you feel comfortable with these seven, you can slowly add specialty brushes like a contour or highlighter brush based on what your routine actually needs.
Frequently Asked Questions About Makeup Brushes and Their Uses
What are the most important makeup brushes for beginners?
A foundation brush, concealer brush, powder brush, blush brush, eyeshadow brush, blending brush, and an angled detail brush cover most everyday looks.
What brush is best for foundation?
A dense, rounded foundation or buffing brush gives the smoothest, most even coverage with liquid or cream foundation.
What is a blending brush used for?
It softens eyeshadow edges and helps different shades transition smoothly instead of leaving visible lines.
Can you use the same brush for different makeup products?
Yes, but clean it between incompatible shades or formulas so colors do not transfer and mix unintentionally.
How often should makeup brushes be cleaned?
Brushes used with liquid or cream products need weekly cleaning, while powder brushes can typically go a few weeks longer between full washes.
Two Quick Tips Before You Go
Tip one: Match the brush to the formula. Dense synthetic brushes work best for liquid and cream products, while fluffy brushes are better for diffusing powder.
Tip two: Do not press too hard. Light pressure gives you far more control when blending blush, bronzer, or eyeshadow, and it prevents patchy application.
Final Thoughts
Learning makeup brushes and their uses is really about matching the right tool to the right product, not memorizing twenty brush names. Once you understand the logic behind shape, density, and bristle type, choosing and using brushes becomes second nature.
Start with the basics, build your collection slowly, and clean your tools regularly. That combination will do more for your makeup routine than any expensive brush set ever could.
The next time you’re standing in front of a brush display feeling overwhelmed, remember that you don’t need every option on the shelf. You just need the handful that match the products you already own, and the confidence to use them correctly.
For more everyday beauty and self-care guidance, visit the Vibe Edits homepage, or check out related reads like our self-care Sunday routine, morning yoga routine for beginners, and DIY hair mask guide to round out your beauty routine.